If you are not a Department 56 purest, you may already have Lemax Spooky Town pieces in your collection. Lemax has some very cute pieces that may complement your collection. The Spooky Town pieces are also often less expensive than their Dept 56 counterparts, and are easier to find especially where we live in South Louisiana. Until this year, we only had Department 56 and homemade pieces. We decided to add the “Bridge of Bones” and “Angel of Death” to our Halloween village collection.
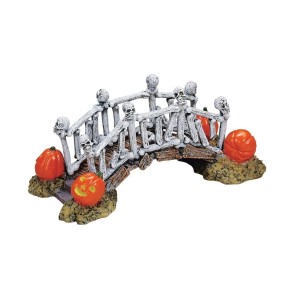
We found the “Bridge of Bones” while we were shopping at Michael’s. One thing we wanted to add to our village this year is waterways. A bridge is a great accessory to go over the streams we plan to create. One day, we plan to get the Dept 56 Covered Bridge, but it is not a priority for this year. Another bridge which we are currently looking for is the Creepy Creek Bridge. In the interim, we found this cute little bridge made out of bones, and thought it would be a perfect addition to the village.
The only hesitation I had about adding Lemax pieces is that they lack the same level of detail that the Department 56 pieces have. There’s just something about the hand painted beautiful details the artists put into the Dept 56 collection. When you place a Lemax next to a Dept 56 piece, the difference in the level of detail is noticeable. Beyond the level of detail, the Lemax pieces often look shiny and new instead of tattered and dilapidated. This is partly because Lemax uses a lot of glossy instead of matte paints. Part of the beauty of having a Halloween collection is making new things look worn and shabby.
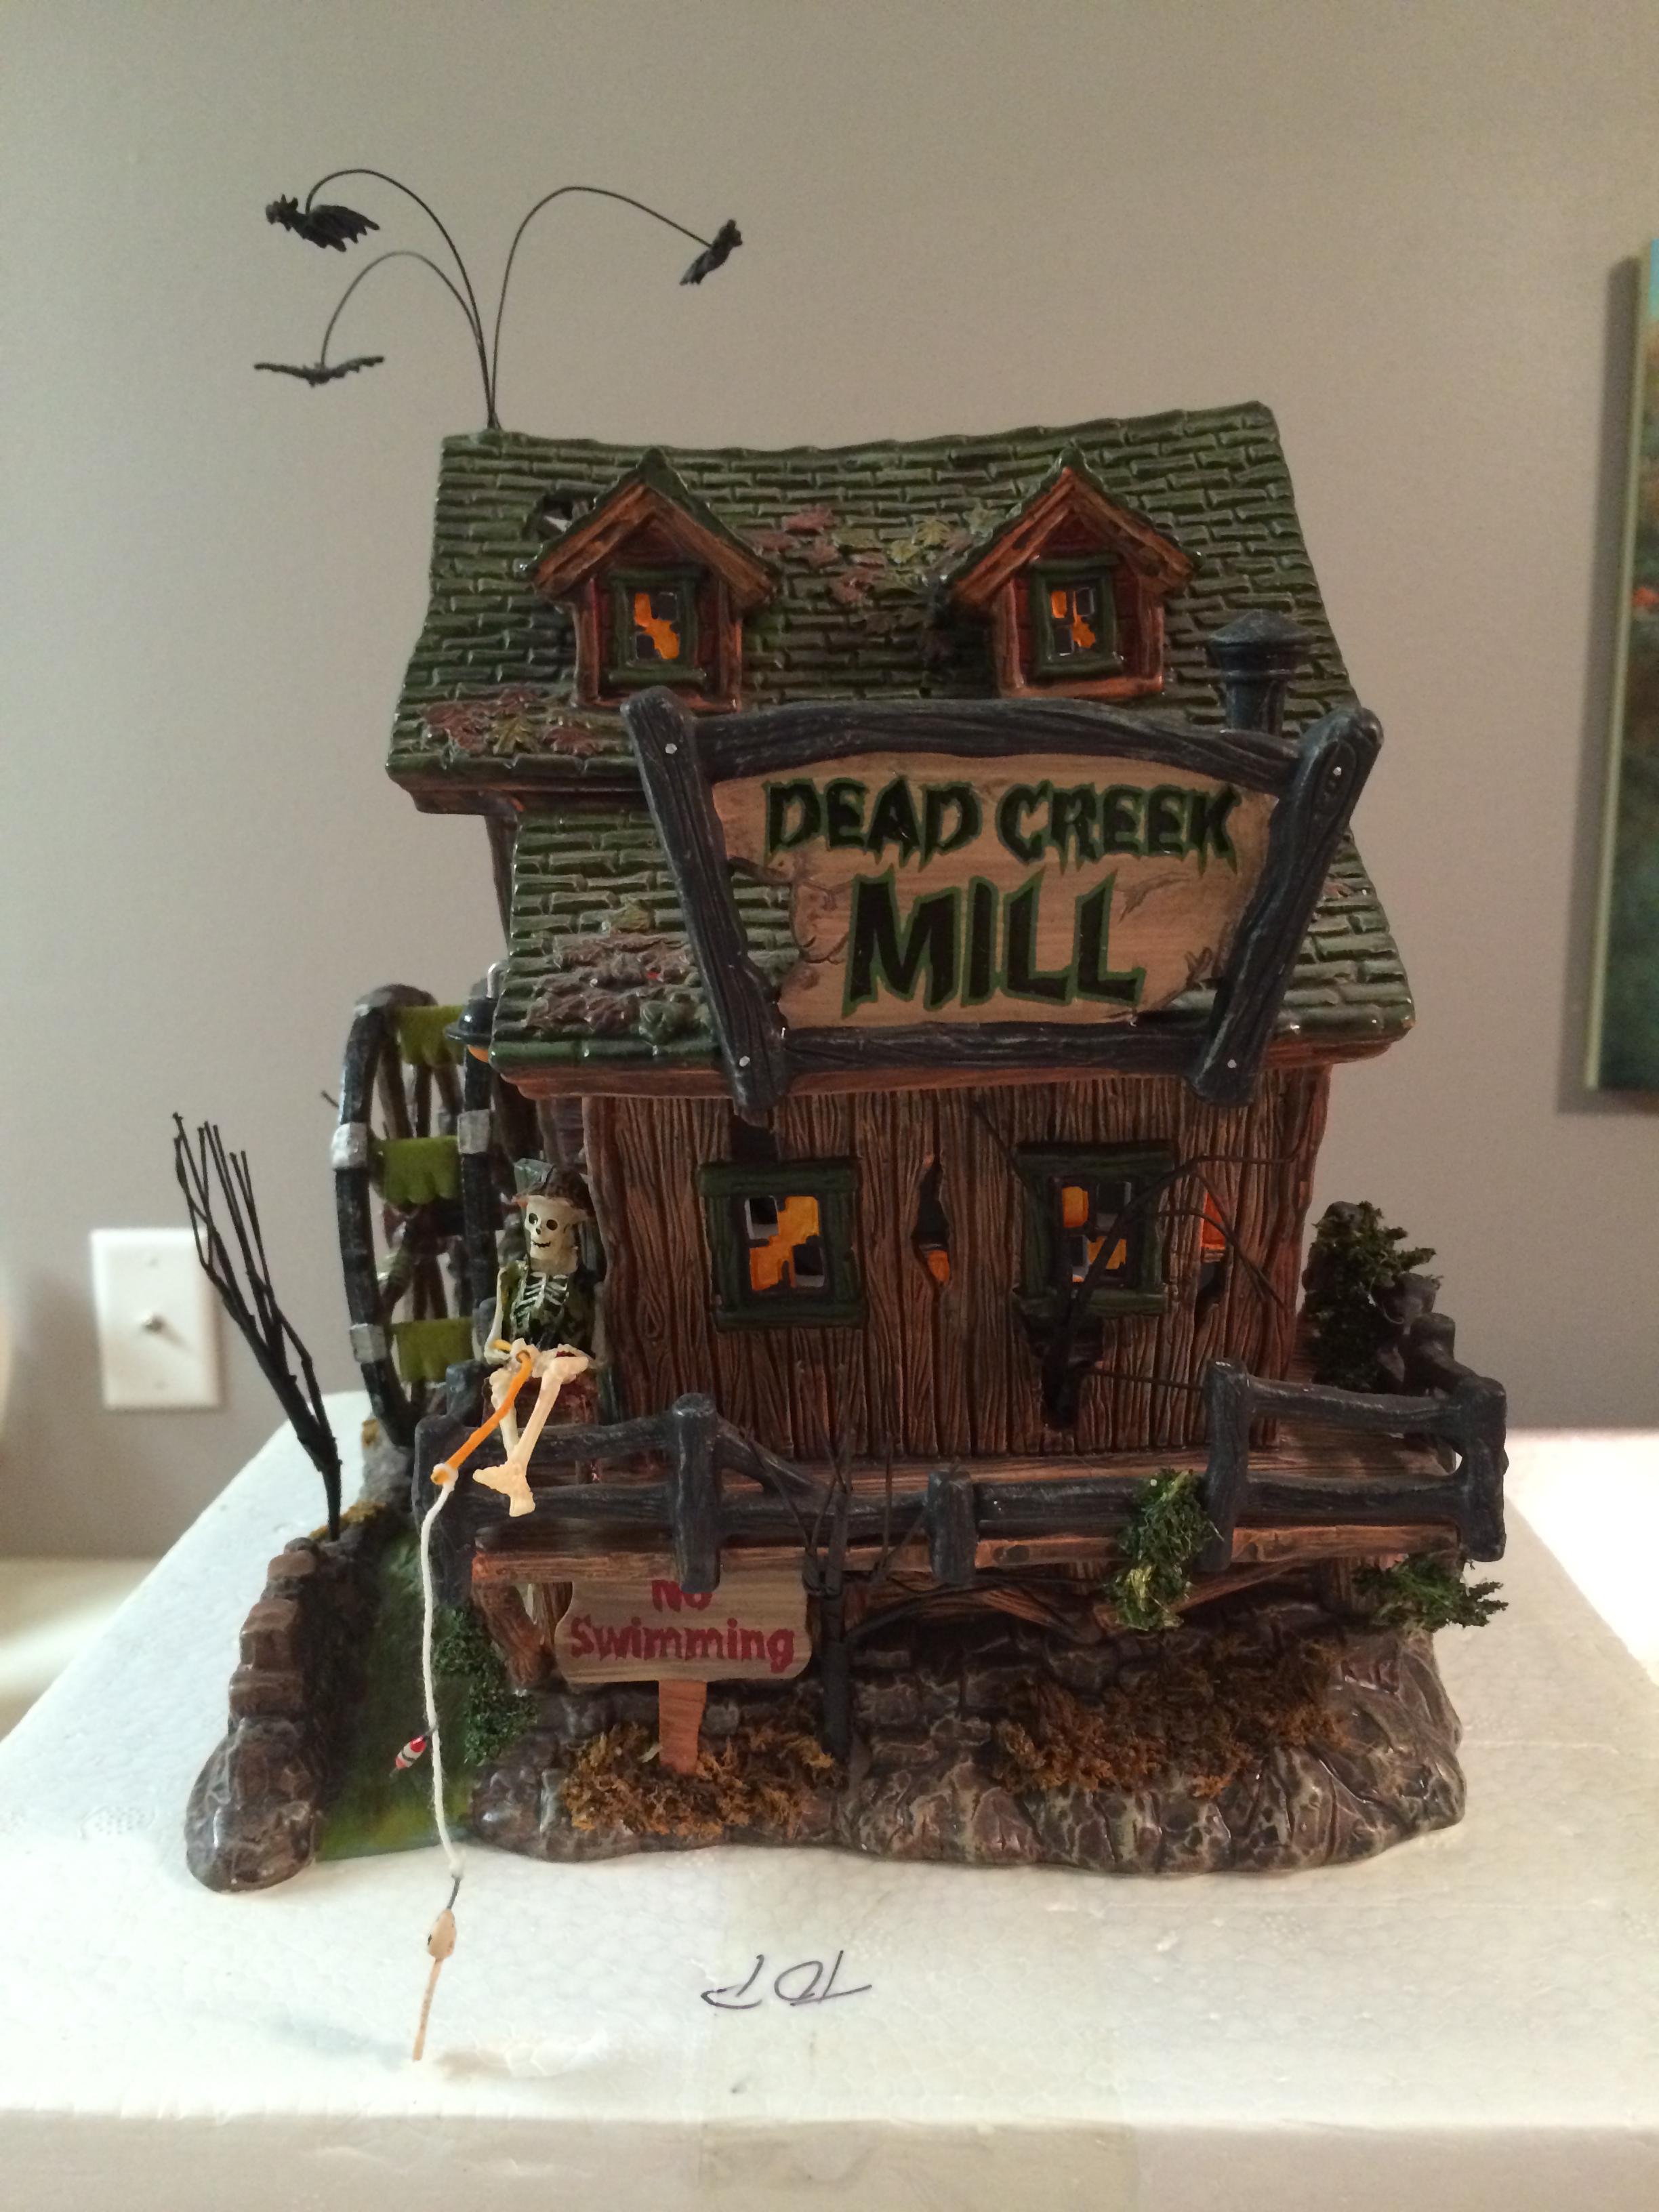
After putting our new little bridge next to the Dead Creek Mill, my perfectionist nature caused me to try something radical. I re-painted it. Much to my surprise, it turned out great.
When I started crafting for our village back in 2013, I researched painting techniques. (We are notorious for turning to YouTube to learn whatever we don’t know.) At the time, I was making a cobblestone street out of clay. After it dried, I wanted to know how to make it look like worn stone with paint. It was a much easier process than I thought it would be: First, you paint the entire portion black. Next, you use a dry brushing technique to apply a medium gray color. For the dry brushing, after dipping the brush into the paint, you will try to wipe off as much of the paint as you can on a paper towel. Then, you brush it lightly over the black paint. It should highlight it and create dimension. Finally, you will use the dry brushing technique with a light gray color to make even more highlights. This is guaranteed to make your craft project look like stone.
I used this technique on the bridge steps to make them look like slate. I used the same technique for the bone fencing, only I finished with an off-white instead of a light gray. The wood was done in much the same manner with the base being black, the first highlight being dark brown, and the second highlight being light brown. I even made the pumpkins look dirty. To finish the piece, I used glow in the dark paint and dotted the eye sockets of each skeleton head and the eyes and mouths of the jack-o-lanterns.
Before:
After:


When I entered the picture, my husband’s Halloween Village lacked a crucial element… a cemetery. My very first contribution to the village was starting our cemetery. The first thing I made for it was tombstones. The next thing was a weeping angel. I am a huge Doctor Who fan, and there is nothing more terrifying to me than a weeping angel. While looking for a grim reaper for the cemetery, we came across the Lemax Angel of Death. The video of it online was spectacular, and we immediately had to have it. It is essentially a statue of a grim reaper with wings that move. It took my poor little clay weeping angel to the next level. I see your tears, weeping angel, and I raise you flapping angel wings. It brings me back to walking through the New Orleans style cemetery at The 13th Gate (A local Halloween attraction) and having one of the angel statutes on a pedestal move. How Creepy.
Before:

After:
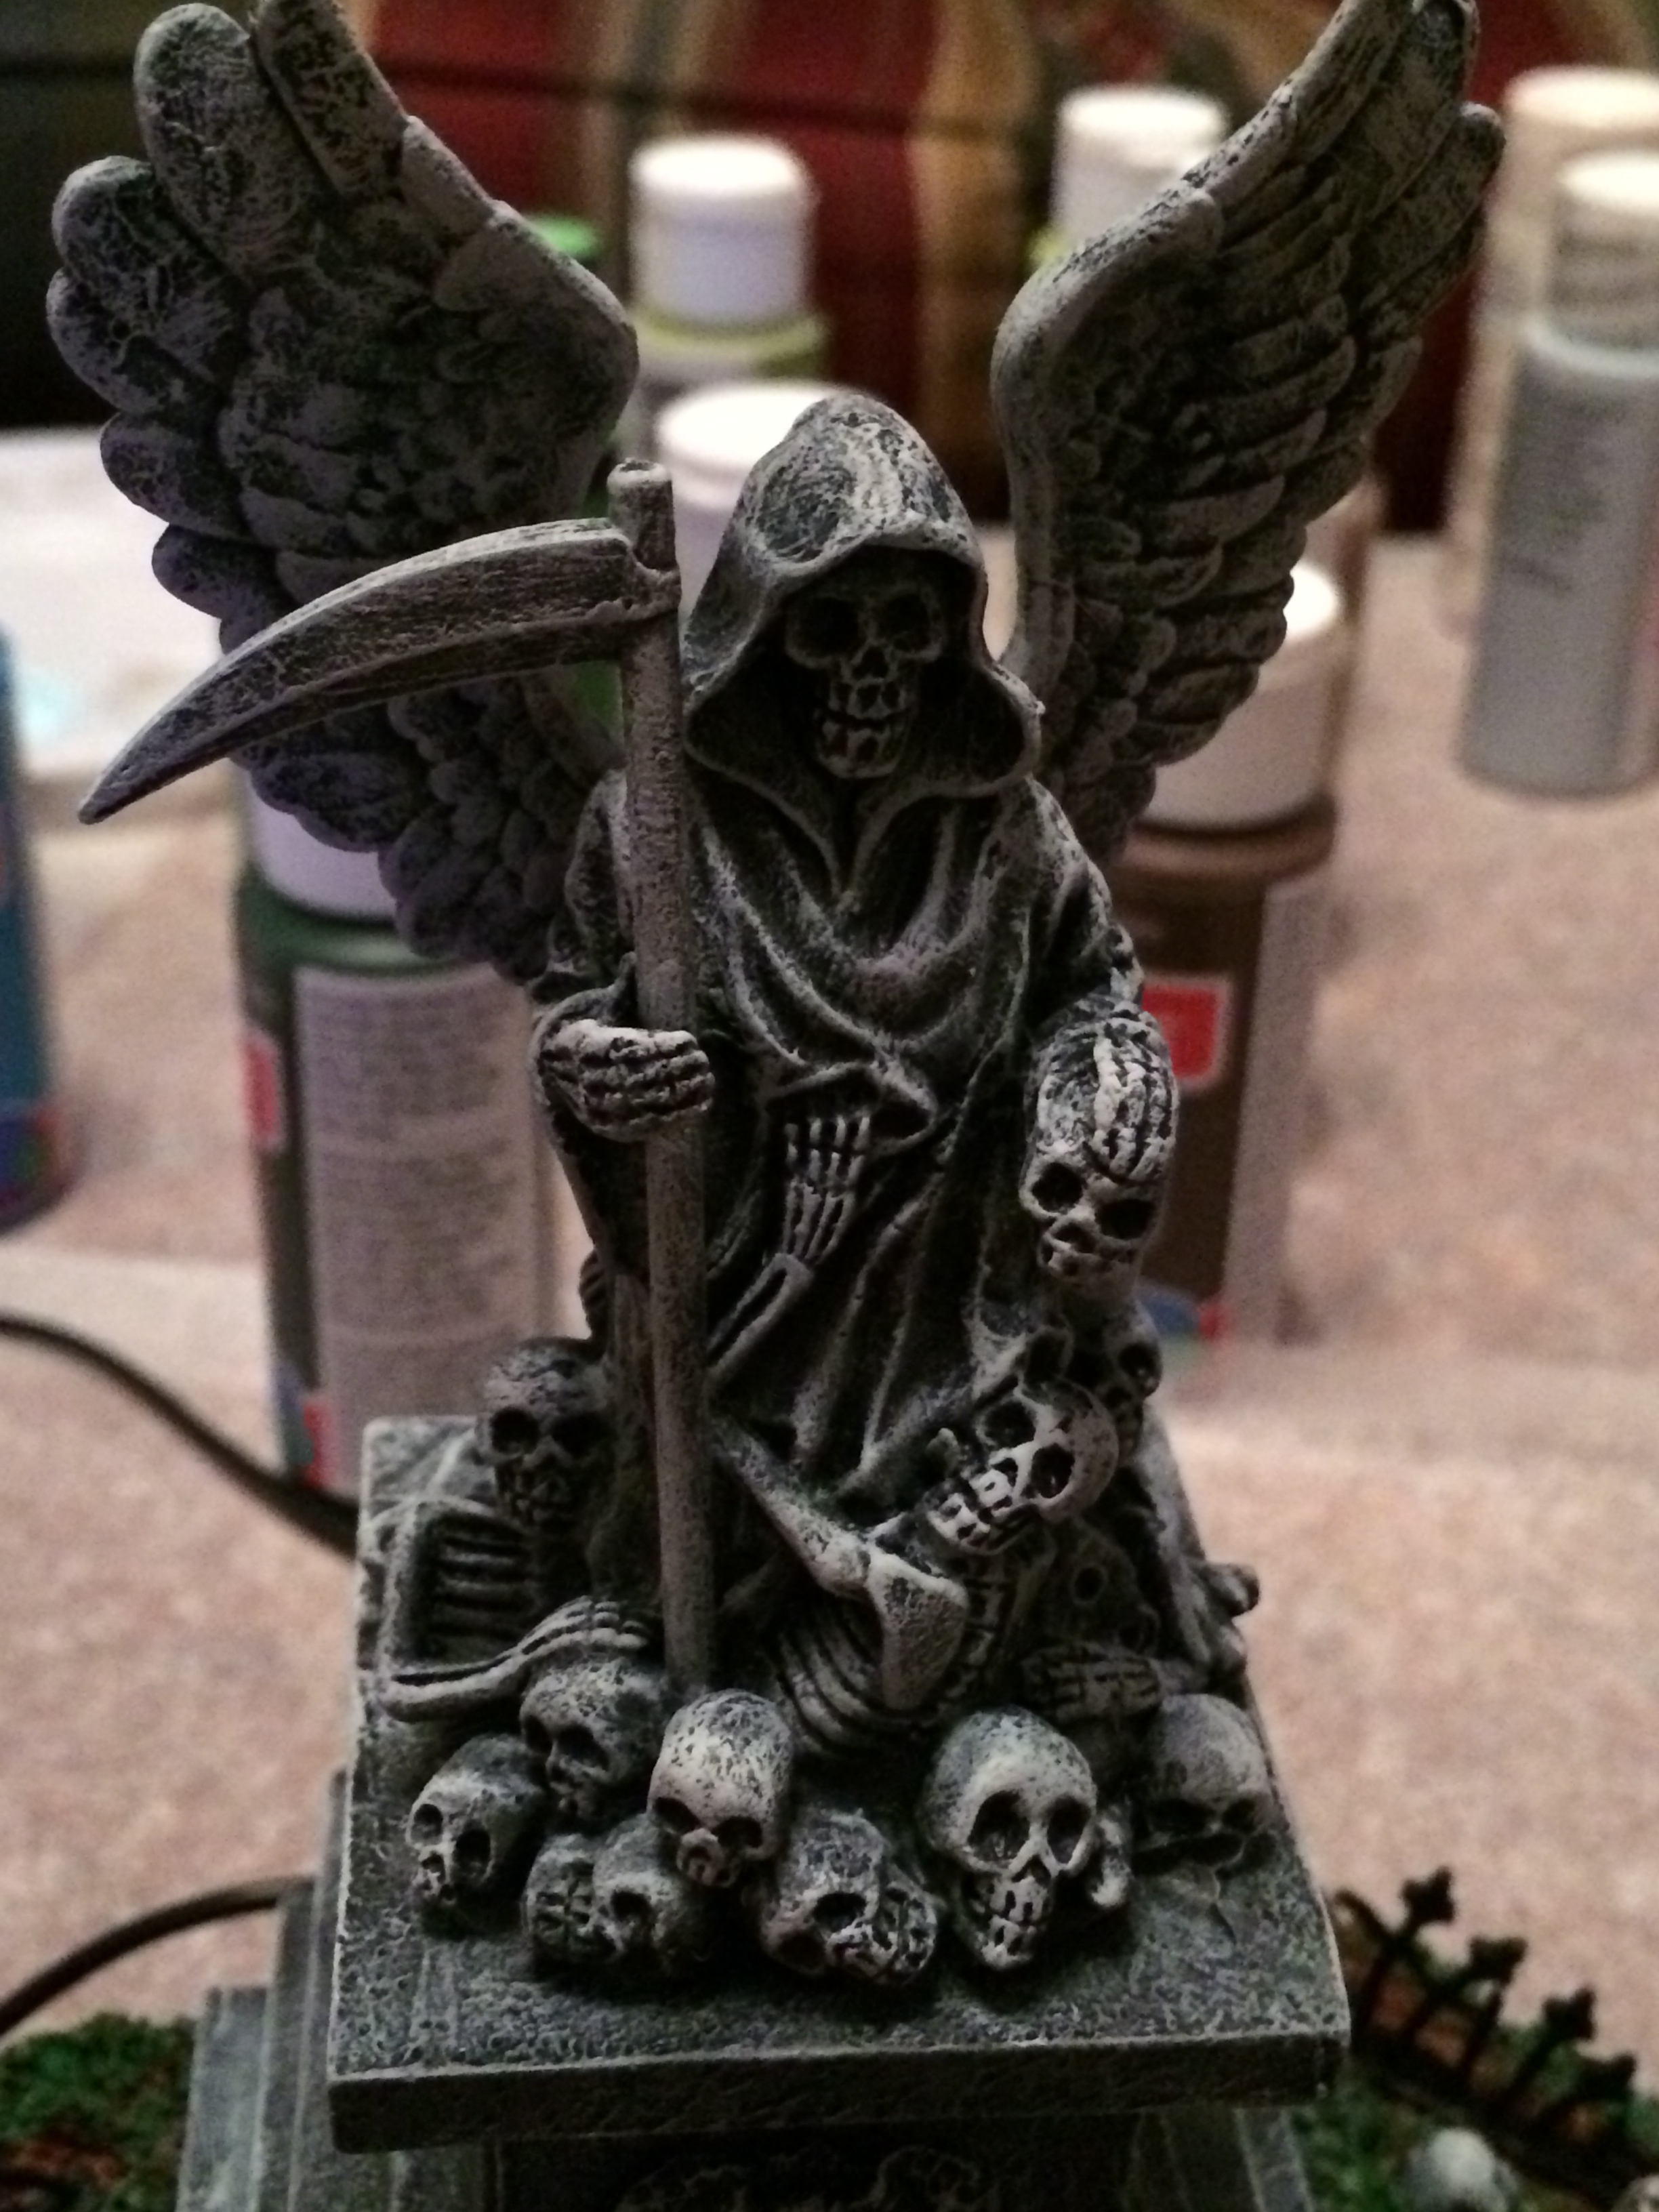
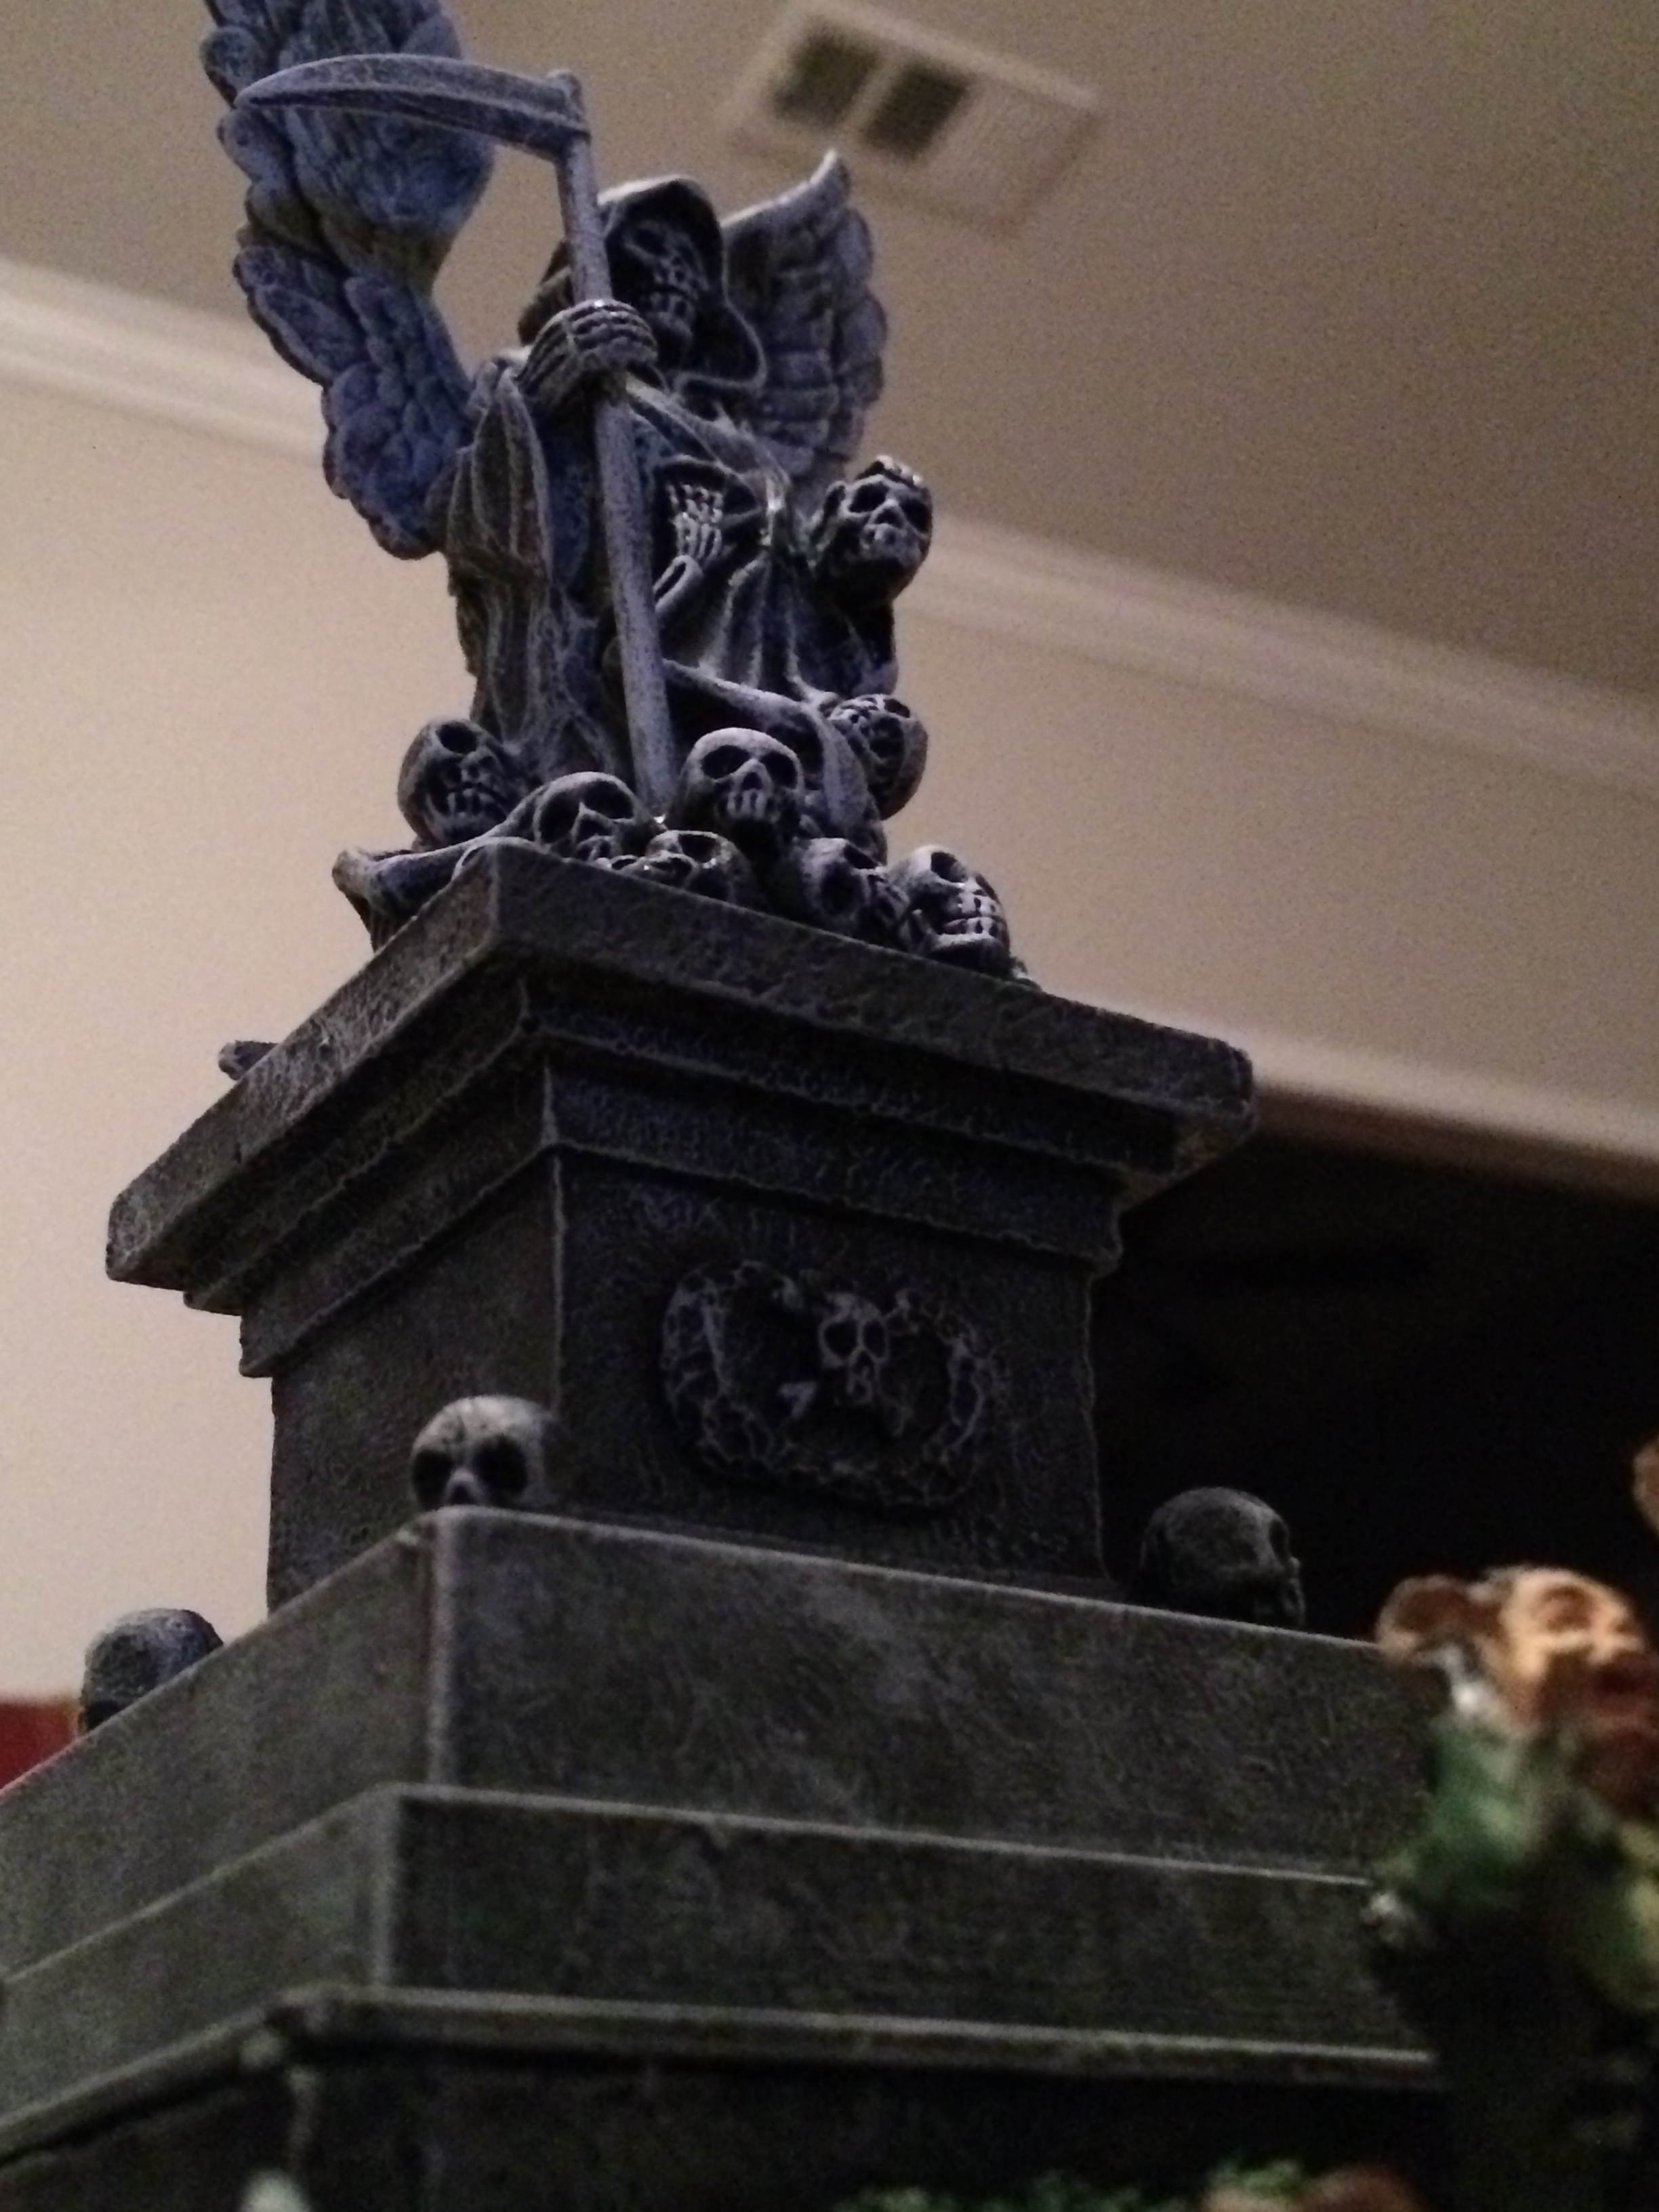
I digress. When it arrived, I again found myself disappointed when I put it next to my Dept 56 pieces. I again turned to my paintbrushes. This, however, was a much larger piece with a lot more detail and a lot more room for error. The main thing I wanted to accomplish was to have the statue be uniform. The steps looked like shiny gray plastic and stood out from the statue. The wings were white while the statue itself was taupe-ish. The scythe did not even look like it was a part of the statue. I used my stone painting technique from above on the entire statue, wings, and steps. Next, I added details to the zombies coming out of the graves including dirt on their hand, face, hair, and clothes. If you look close enough, you can see his rib bones and arm bone. A little paint and a little love took this really cool piece to the next level.

It is not necessary to paint the Lemax pieces you add to your collection. These pieces are so cute and can be a great compliment to your village. They can be placed in such a way that any difference in detail is not very noticeable. However, if you don’t like something, you can change it.
Have you gotten a little Spooky too? What Lemax or other non-Dept 56 pieces have you added to your village and how have you incorporated them?